Easy Mona Lisa Art Lesson: Having Fun with Patterns
Easy Mona Lisa Art Lesson: Having Fun with Patterns
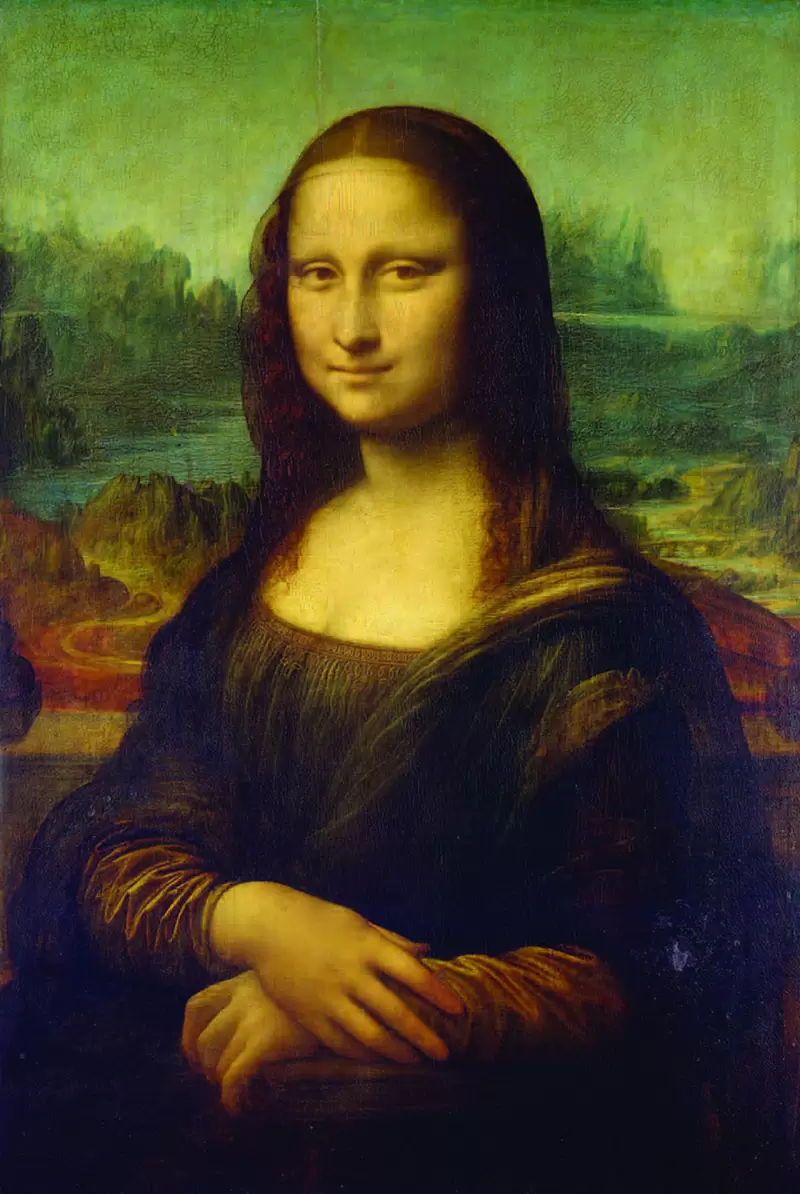
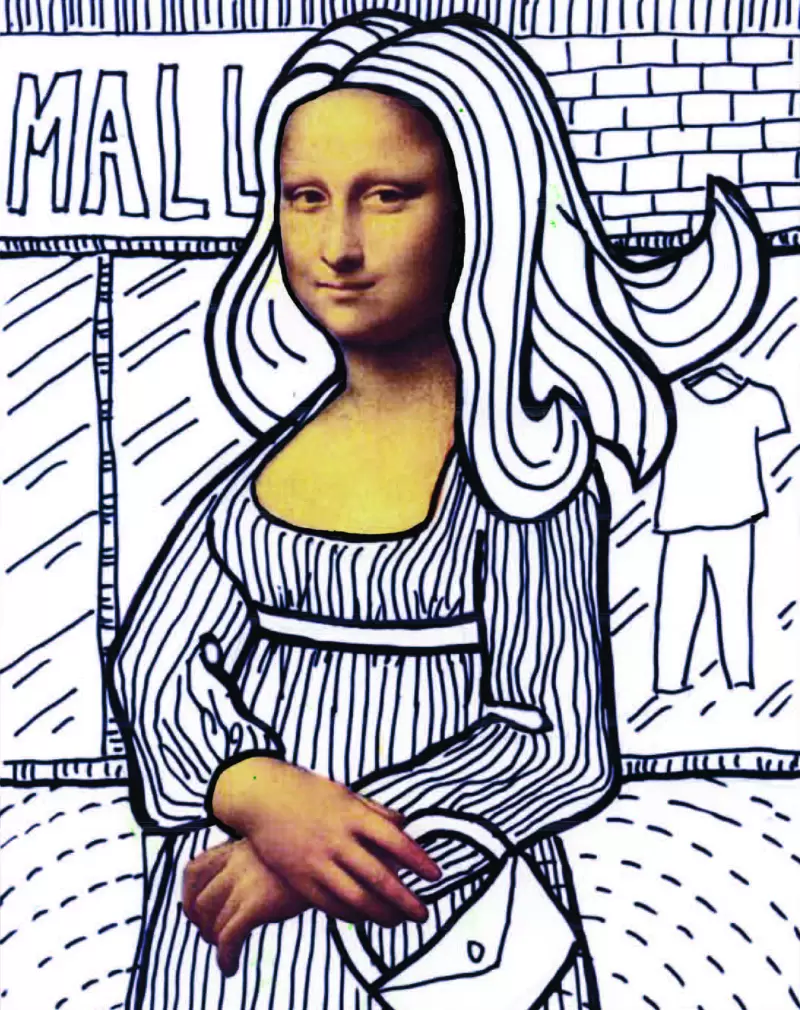
Here's a fun Mona Lisa art lesson, starting with her very famous face and then filling in your own background with lines, just for dissimilarity.
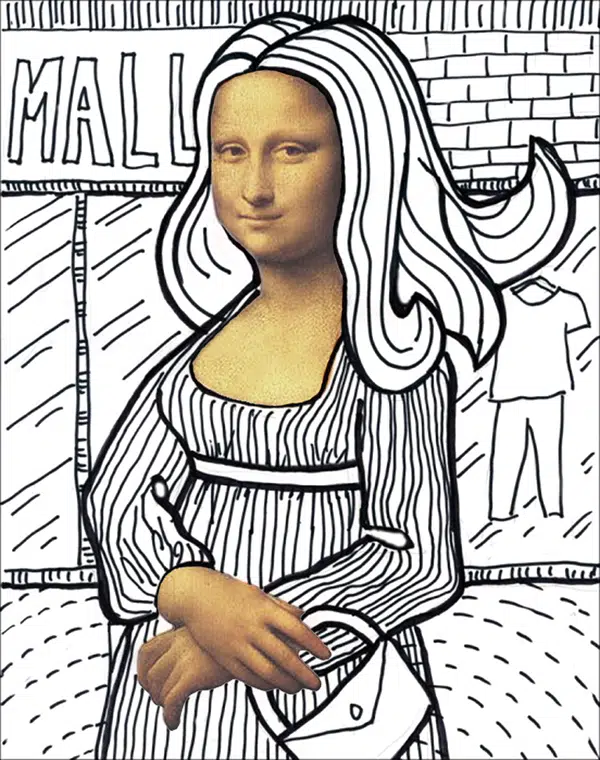
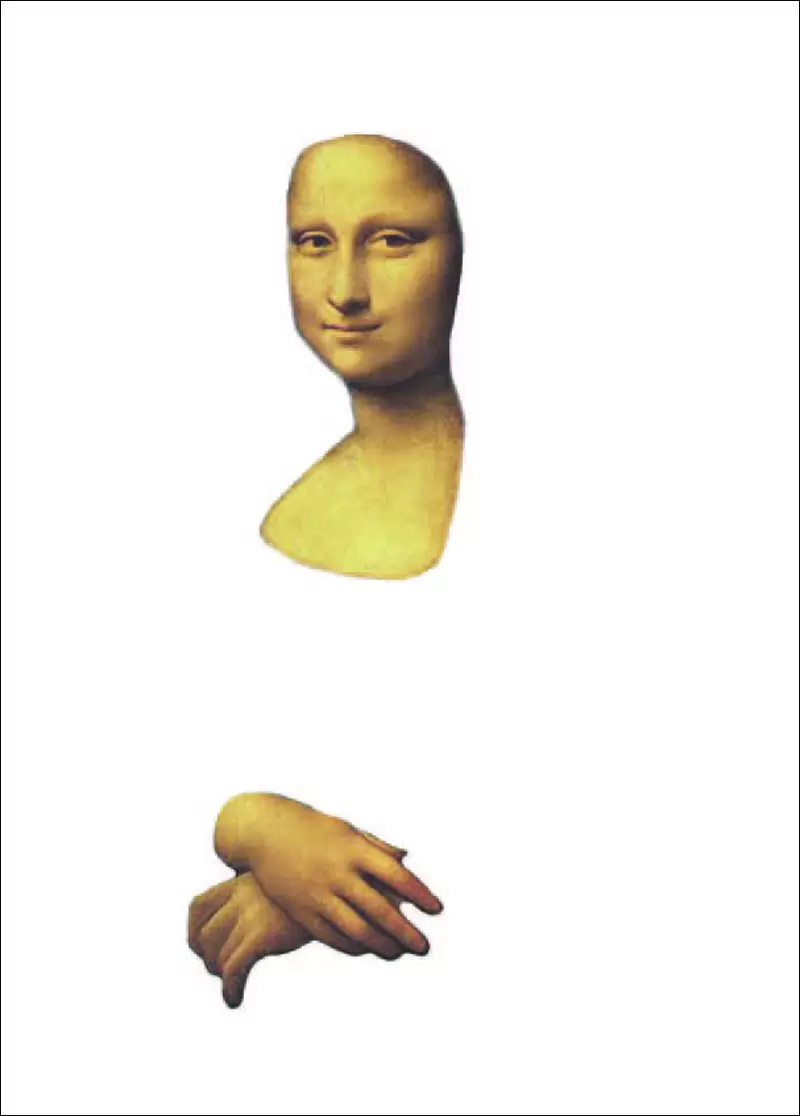
A swell fashion to written report the power of lines, the dazzler of contrast, and the enduring mystery of Mona Lisa, is to make a line fine art lesson in her honor. Just start with a template, block out a new "Mona". So fill up it in with lots and lots of lines and patterns
Cutting and glueing a motion picture could work for this, but the alloy of a colour photograph and marking lines looks even more interesting if they are on the aforementioned canvass of paper. For best results, try to use a heavier marker for the principal torso shapes, and a very thin one for all the details. The ii make information technology the drawing easier to see and more than interesting to await at.
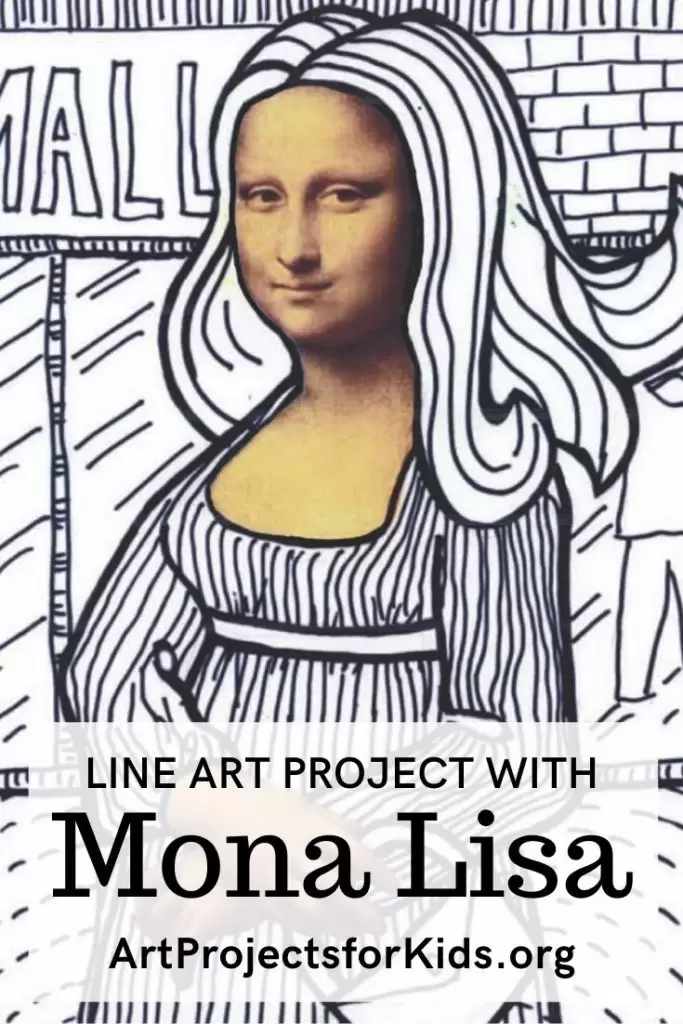
Pin me to your Pinterest Board
Use the Button below to Download a PDF Tutorial
Materials for Mona Lisa Fine art Project
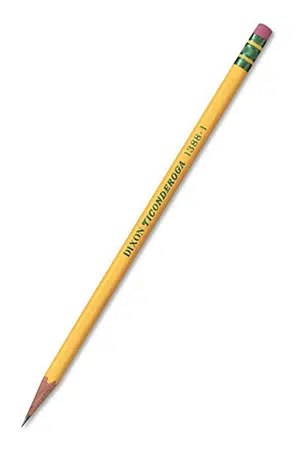
- Pencil. The Ticonderoga make are the most reliable, make dainty dark lines when y'all need them, and are the easiest to erase. Buying the pre-sharpened ones will relieve busy teachers a lot of fourth dimension.
- Eraser. Large ones you can hold in your manus practice a much better task than only the pencil tip erasers, especially when erasing leftover pencil lines afterward tracing.
- Black Sharpie Marker. These fine betoken permanent marker pens brand dainty black outlines, have a skillful tip for coloring, and never bleed when they get wet. Employ them with good ventilation and add together extra paper underneath to protect your tables.
Directions for Mona Lisa Art Project
Time needed:1 hour.
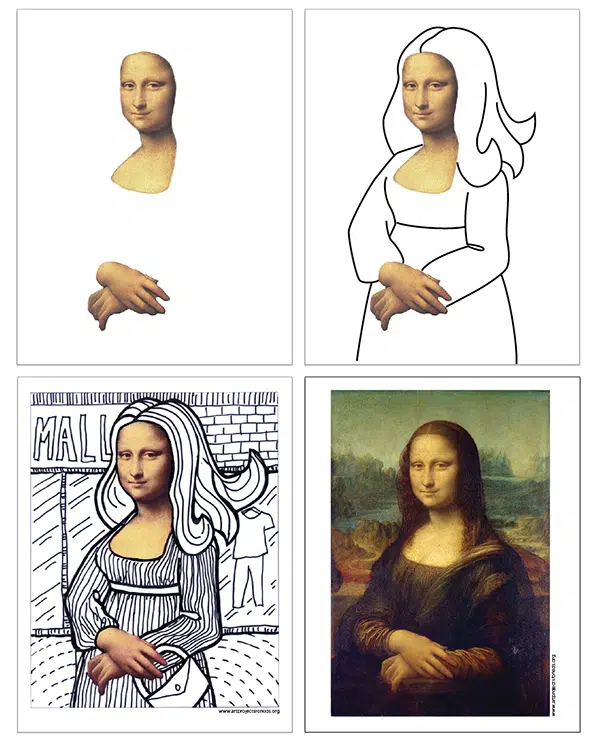
Mona Lisa Art Project Footstep by Step
- Preview the Mona Lisa painting for reference
- Print the template on cartoon paper.
- Sketch and trace the basic outlines with a thick marker.
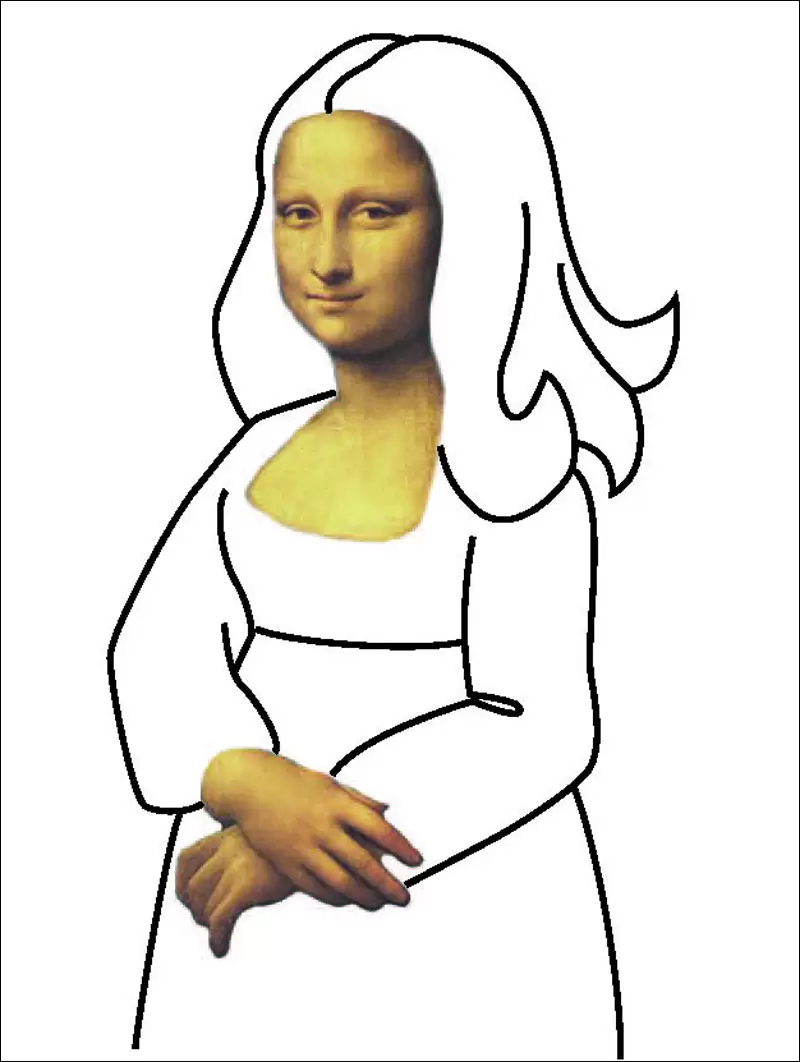
- Add together details with a thin mark, the more the improve.
Student Art Inspiration
normanoushavinge95.blogspot.com
Source: https://artprojectsforkids.org/mona-lisa-art-project/
0 Response to "Easy Mona Lisa Art Lesson: Having Fun with Patterns"
Post a Comment